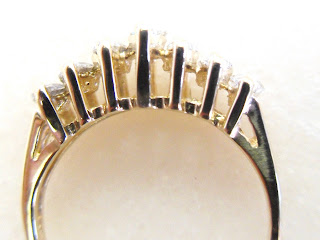
Last month I had a new client couple come in to the shoppe. They are still fairly new to the area. They had been sent to me by a personal reference. I don't believe they told me who sent them, but God bless whoever did! They brought in a piece of jewelry for repair, plus a few vintage pieces that are very nice. There also was a few pieces that they were ready to do something different with.
After a few visits, I got to know this sweet lady a little better. I found out that she is musically gifted and loves to sing. I could see the passion of this great love in her eyes. They began to glaze over with lofty thoughts, as I believe mine do when I talk about jewelry. She had asked me during one of her earlier visits if I had any musical pendants in the shoppe. I had a couple

ordered, but none in stock at that time.
When she came in to pick up her piece I had repaired, I pulled this sterling silver treble cleft that I had just gotten in. It was pretty, but not what
her heart truly wanted. We visited a little more then I suggested that I build her what she wanted
with a couple of the pieces she was ready to
let go of. I would use the sterling silver piece as a guide to work by. It was not to be identical, but similar. She also wanted to use one of her diamonds in the bottom part of the pendant.
She had two different colored gold pieces to work with so I suggested making the piece two-toned. That would make the piece more versatile, being able to be worn with other pieces of either color of gold.
The first thing I did after cleaning each of the pieces thoroughly was to take them apart. Then I had to find the parts that would work into what I needed it to do size wise. After annealing the metal pieces, I bent them in the shape that I needed them to be. (Here I go again, showing parts that do not look beautiful, but I do want to share the process.) I had thought that the round jump ring would work to hold the head for the diamond. Once I attached it,
I did not like it, so off it came immediately! I decided to bur an indention in the thicker part of the white gold to attach the head to. I like that look much better. It seems so much more protected and secure.
The bottom curve of the treble cleft, was the most challenging part. Getting everything to fit and line up was abit more detailed than it looks. Really! I had to file and indention into the white gold where the yellow gold was to lay on top of. Once I had the indention filed, I soldered one end of the swirl to the center part of the treble cleft. Once it was clean, I used my flat end pliers to secure the yellow gold into the crevice of the white gold. Then I corrected the curve in the swirl. There very well may be proper names for the different parts of the treble cleft. I do not know. Please excuse my ignorance if there is.
Here you see where I have attached the head for the diamond and the left part of the swirl. I finished off with the top part of the treble cleft marrying the two metals together into one piece.
I was so, excited to see the result of the marriage, that once I cleaned it in acid, I had had to finish the piece off immediately. I could not wait until the next day! I did a pre-polish on the piece before setting the diamond. Then I put a high polish on the whole piece. It turned out absolutely delightful!
I love the piece, yet the best part of it is that her
honey was pleased with. it and commented so
kindly on it when he picked it up. I am not sure
how much of a surprise it was, when he gave it to
her. She called me shortly after he picked it up,
She was thrilled with the results. It made my heart smile to have my craft so appreciated. This couple is good for anyone's ego.
This last picture does not do the pendant justice. The play between the two metals is like beautiful music. It flows perfectly together making a beautiful melody of metal.
Yes indeed I do love this piece, but what appreciate the most in all of this, is the new friendship the Lord has brought into my life.


